(English is below).
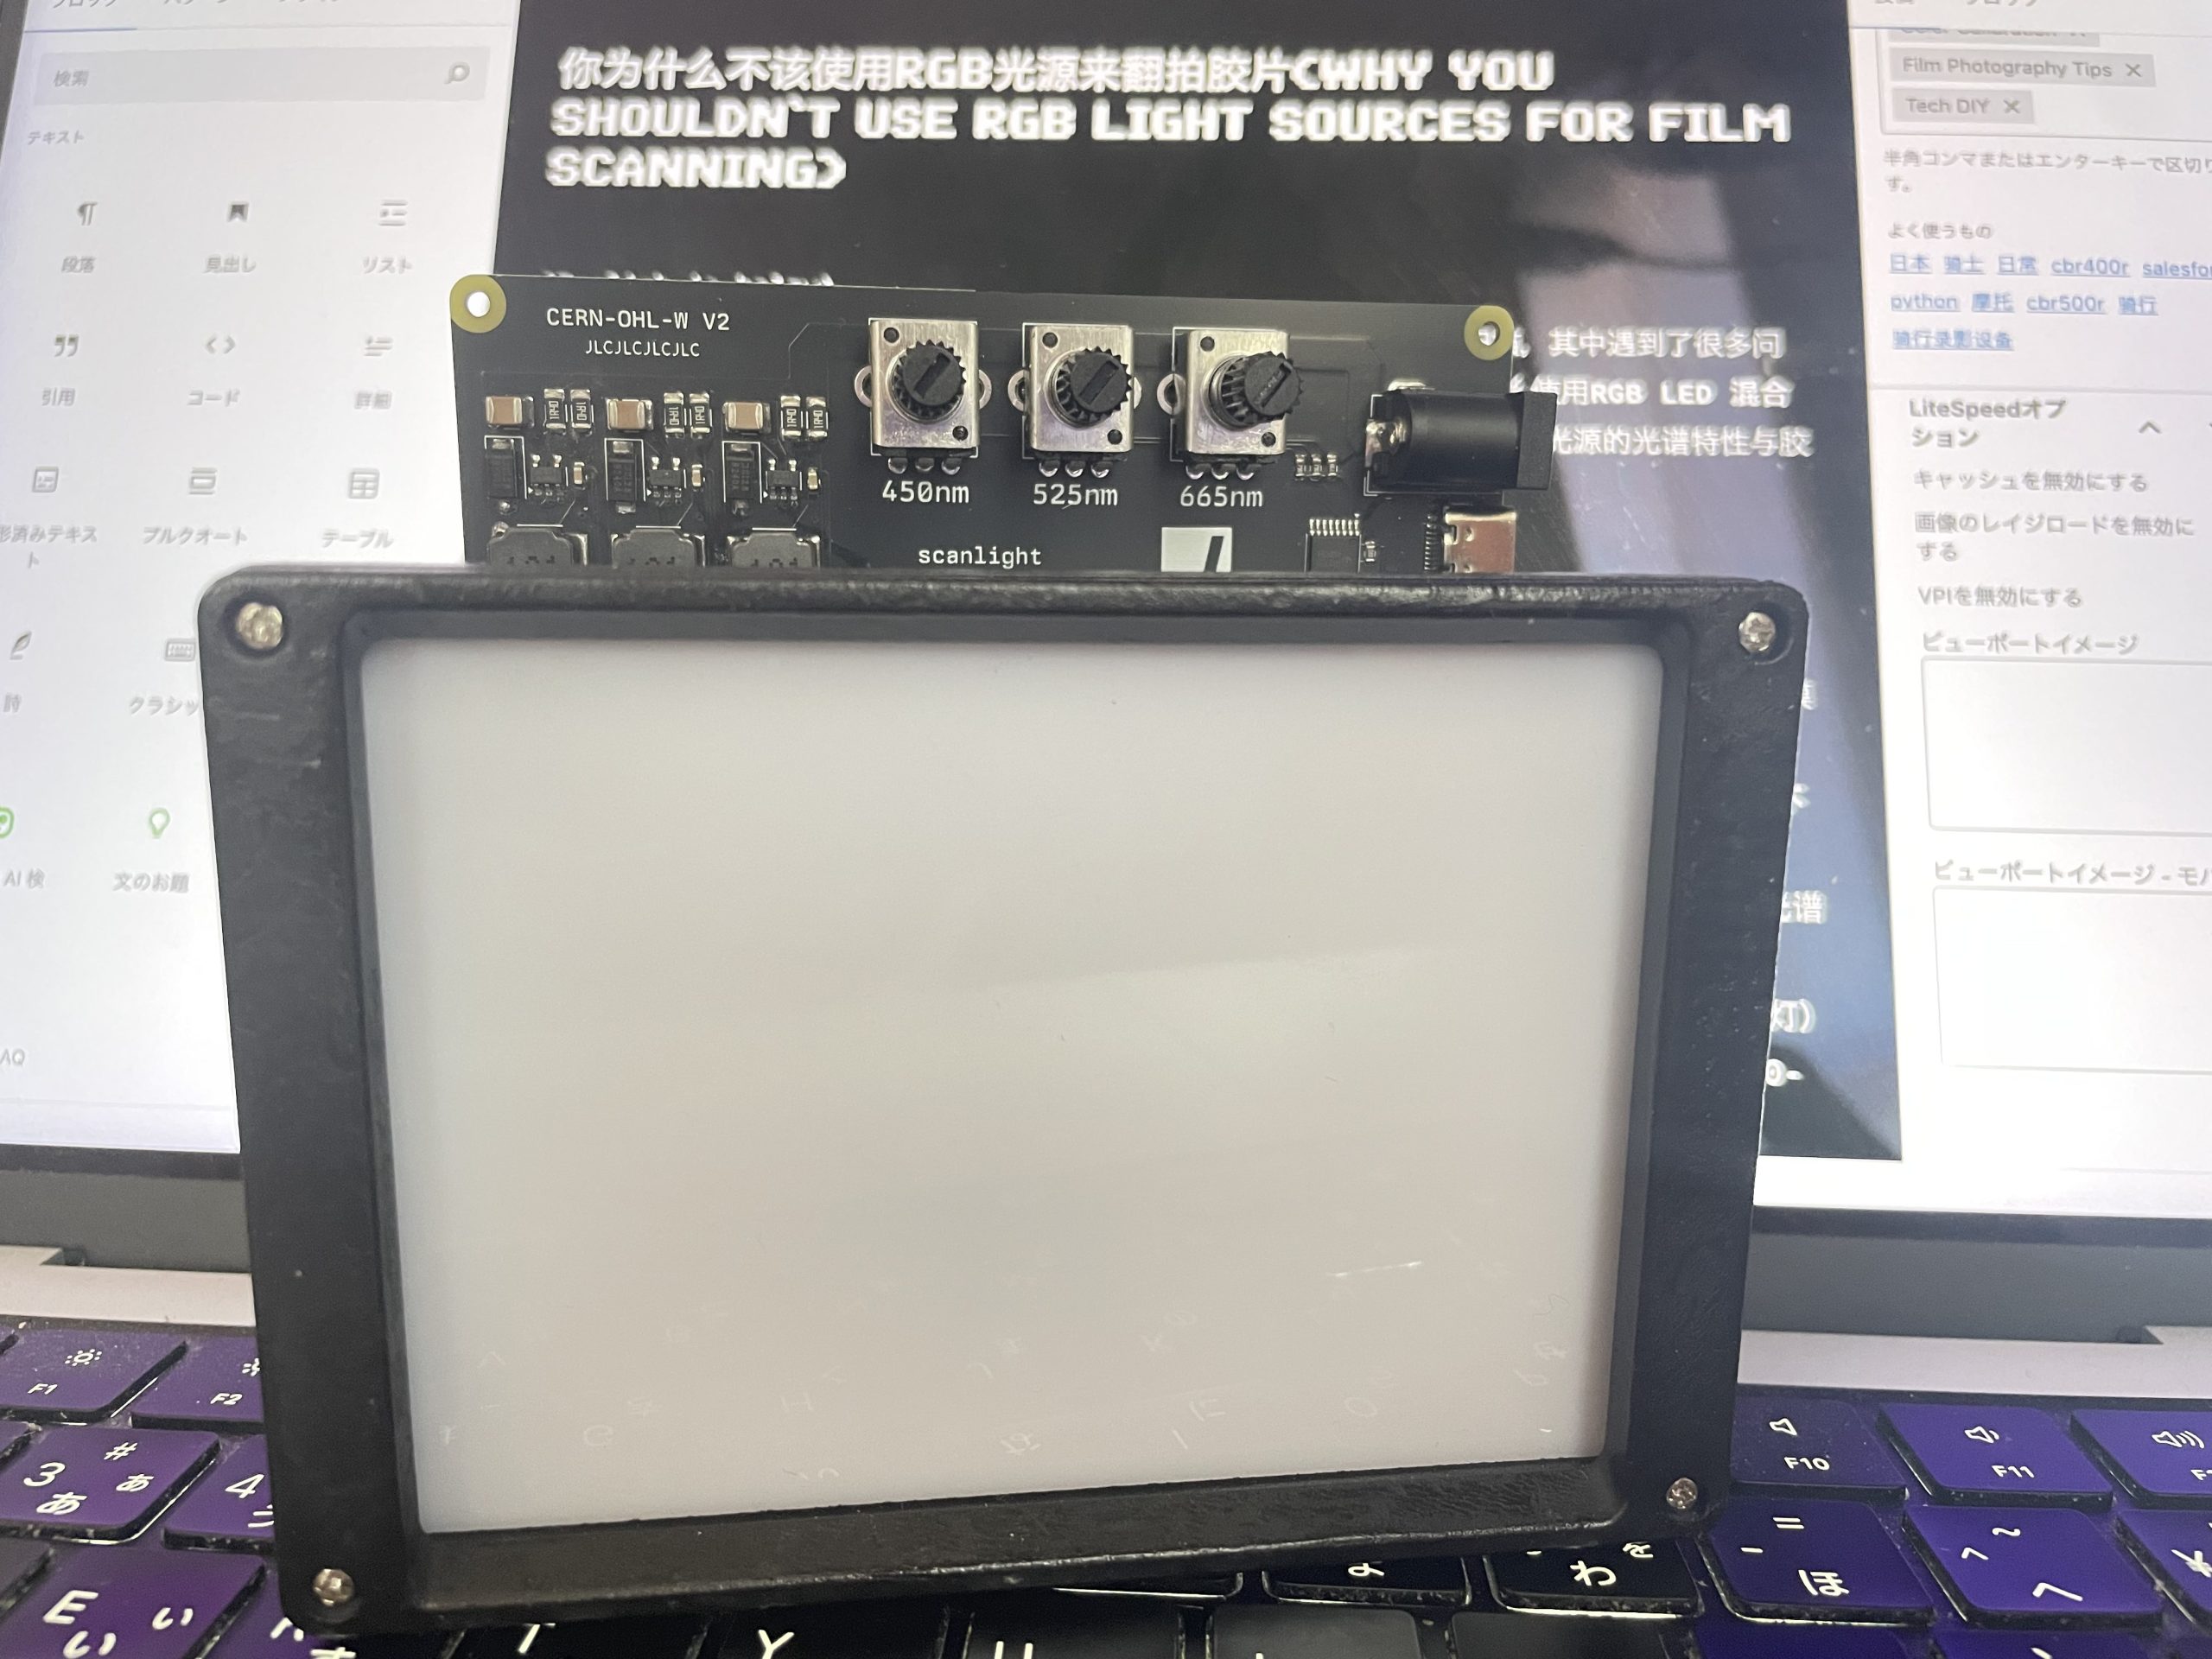
当我尝试了scanlight这个项目后,自己做了一个RGB的光源来进行胶片的扫描,其中遇到了很多问题,查了很多资料后得出了以下的结论。
现在让我们来专业地剖析一下,为什么使用RGB LED 混合白光作为翻拍胶片的光源,在追求色彩准确性时是一个非常糟糕的选择。这涉及到光源的光谱特性与胶片染料层复杂的光谱吸收特性之间的根本性不匹配。
1. RGB LED 混合白光的本质:光谱的不连续性与窄带特性
- 构造: 这种光源通过组合红 (Red)、绿 (Green)、蓝 (Blue) 三种单色LED芯片的光线来模拟“白色”。
- 光谱功率分布 (Spectral Power Distribution – SPD): 其核心缺陷在于光谱的严重不连续性。其SPD并非平滑曲线,而是由三个相对狭窄的发射峰构成,分别位于蓝色(约450-470nm)、绿色(约520-540nm)和红色(约620-640nm)区域。在这些峰值之间,存在着光谱能量非常低甚至接近于零的“深谷”。
- 与连续光谱的对比: 这与自然光(日光)或高质量人造光源(如高CRI LED、氙气灯、卤素灯)有着本质区别。后者通常具有(或力求模拟)连续的光谱,能量覆盖整个可见光范围(约400-700nm),没有明显的能量断层。
2. 彩色胶片的显色原理:染料的宽带吸收光谱
- 减色法: 彩色胶片(负片或反转片)通过三层感光乳剂记录信息,并在冲洗后形成青色 (Cyan)、品红 (Magenta)、黄色 (Yellow) 的染料图像。我们看到颜色是因为这些染料选择性地吸收了照射光中的某些波长,并将剩余的光透射(负片)或反射(照片)出来。
- 染料的光谱吸收特性: 关键在于,C, M, Y 这三种染料并非只吸收单一波长的光。它们的吸收光谱是宽带且复杂的。
- 例如,理想的黄色染料主要吸收蓝色波段的光,但其吸收曲线会延伸到绿色甚至一点点红色区域,只是吸收率较低。它对整个蓝色区域(约400-500nm)都有显著吸收。
- 品红染料主要吸收绿色波段(约500-600nm),但通常在蓝色和红色区域也有副吸收。
- 青色染料主要吸收红色波段(约600-700nm),同样在绿色和蓝色区域也可能有一定的吸收。
- 设计预期: 胶片染料的设计是在连续光谱照明下进行观看或放大的。人眼或投影系统接收到的是经过这些宽带染料“过滤”后的连续光谱,从而感知到丰富的色彩。
3. RGB LED 与胶片染料相互作用的根本问题:光谱采样不足与同色异谱
- 探测的局限性: 当使用RGB LED照射胶片时,我们实际上只用了三个窄带的光谱“探针”去探测胶片染料复杂的宽带吸收特性。胶片染料在RGB LED光谱“深谷”区域的吸收特性完全没有被探测到。
- 信息丢失: 这意味着大量关于染料如何与连续光谱相互作用的关键信息从一开始就丢失了。我们只知道染料在LED发射峰值波长附近的吸收情况,而对其在其他波长的行为一无所知。
- 同色异谱 (Metamerism) 的必然性: 这是最直接和严重的后果。
- 定义: 同色异谱是指两个物体在某一种光源下看起来颜色相同,但在另一种光源下看起来颜色不同。这是因为它们的光谱反射/透射曲线不同,但恰好在第一种光源的光谱成分与人眼/传感器响应函数的乘积积分后得到了相同的三刺激值(XYZ或RGB)。
- 在RGB LED翻拍中的体现: 使用RGB LED时,胶片上的某个区域,其C/M/Y染料组合可能恰好在R, G, B三个窄带波长处具有特定的透过率,被相机记录为某个RGB值。然而,在连续光谱(如日光或高CRI灯)下,这个区域的染料组合由于其在光谱“深谷”区域的独特吸收特性,本应呈现出完全不同的颜色(不同的RGB值)。反之亦然,两个在日光下颜色有细微差异的区域,可能因为它们在RGB LED的三个峰值波长处透过率恰好相近,而被错误地记录为相同的颜色。
- 结果: 翻拍出的数字图像无法准确预测或还原胶片在标准连续光谱下的真实颜色。
4. “白平衡”无法解决根本问题
有人可能会认为,可以通过调整RGB LED的强度比例,或者通过相机的白平衡设置,来“校准”颜色。这是错误的。
- 白平衡的作用: 白平衡调整的是相机记录的R, G, B信号的整体增益,目的是让场景中的中性色(白色或灰色)在最终图像中也呈现中性色。
- 无法弥补的信息损失: 白平衡不能凭空创造出在光源中本就缺失的光谱信息。它无法得知胶片染料在RGB LED光谱“深谷”区域的吸收特性是怎样的。它只是在已经失真的、基于三个窄带采样点得到的数据基础上进行数学调整,试图让灰色看起来是灰色,但这并不能保证其他颜色的准确性。你可能可以把灰色校准,但其他的颜色,特别是饱和色和混合色,几乎必然是错误的。
5. 对色彩准确性的具体影响
使用RGB LED混合白光翻拍胶片,会导致:
- 色偏 (Hue Shifts): 颜色向某个方向偏移,例如本应是某种微妙的橄榄绿可能偏黄或偏蓝。
- 饱和度失真 (Saturation Errors): 颜色可能显得过于鲜艳或过于灰暗。
- 色彩细节丢失: 胶片上原本存在的微妙色彩过渡和差异,如果其光谱特征主要体现在RGB LED的“谷”区,就会丢失。
- 整体色彩关系紊乱: 不同颜色之间的相对关系可能被打乱,导致画面整体色调不自然、不准确。
结论:
从光学和色彩科学的角度来看,RGB LED混合白光由于其光谱的严重不连续性,无法有效且全面地探测彩色胶片上具有宽带复杂吸收光谱的染料层。它仅在三个狭窄的光谱点上进行了采样,忽略了大量的光谱信息,必然导致严重的同色异谱问题和色彩还原失真。白平衡等后期调整无法弥补这种光源层面的根本缺陷。
因此,对于任何追求高色彩保真度的胶片数字化工作,强烈不推荐使用RGB LED混合白光作为光源。应优先选择光谱尽可能连续、平滑且完整的光源,如高质量的高CRI LED(CRI > 95,特别是R9、R12等指数也要高)、经过良好设计的闪光灯系统,或者在严格控制下的过滤卤素灯等。而追求极致准确性则可能需要考虑分色法+黑白相机方案。
After trying out the scanlight, I built my own RGB light source to scan film. Along the way, I hit a lot of unexpected problems. After digging through tons of resources, I realized something important:
Using RGB LEDs to create white light for scanning color film might seem like a good idea—but in reality, it’s a bad choice if you care about accurate color. The issue comes down to how the light’s spectrum interacts with the complex dyes in color film.
Let’s break it down in simple terms:
1. RGB LEDs: A White Light with Gaps
- How RGB LEDs make white: Instead of using one light source that covers the full color range, RGB LEDs mix just three colors—red, green, and blue—to fake white light.
- The problem: The light from these LEDs isn’t smooth or continuous. It has just three narrow spikes of color—one each for red, green, and blue. Between those spikes, there’s almost no light at all. Imagine a rainbow with only three thin stripes and big dark gaps in between—that’s what RGB LED “white” looks like to your film.
- Why that matters: Natural sunlight or high-quality lights (like good LEDs, halogen bulbs, or flash systems) give off a full spectrum of light, covering all the visible colors evenly. That’s what color film is made to work with.
2. How Color Film Works: Broad, Overlapping Dyes
- Film uses subtractive color: Color film has three layers of dyes—cyan, magenta, and yellow—that control which colors of light get absorbed and which ones pass through (or reflect).
- These dyes aren’t simple: Each dye doesn’t just block one color—it absorbs a whole range. For example:
- Yellow dye mainly absorbs blue, but also takes in a little green and red.
- Magenta blocks green, but also some blue and red.
- Cyan absorbs mostly red, but also a bit of green and blue.
- They’re designed for full-spectrum light: Film was made to be viewed and printed under light that contains all wavelengths. When you use a light source that only shows three narrow colors, those dye layers can’t do their job properly.
3. RGB LEDs Miss Most of the Picture
- Too few data points: When you shine RGB LED light through film, you’re only “asking” the film how it looks under three colors of light—red, green, and blue. But the film’s dyes were meant to react to hundreds of wavelengths, not just three.
- Missing information: That means you’re ignoring huge parts of the film’s color response. Important details—especially in subtle color shades—just don’t show up in the scan.
- This leads to metamerism: That’s when colors look the same under one light but different under another. With RGB LEDs, two parts of your film might scan with identical colors, even though they look different in daylight—or vice versa.
4. “Fixing It in Post” Doesn’t Work
- White balance isn’t magic: Some people think they can fix color issues later by adjusting white balance in the camera or editing software. But white balance only tweaks the strength of red, green, and blue channels.
- You can’t fix what isn’t there: If your light source never gave you full-spectrum data in the first place, no amount of editing will bring it back. You can maybe make grays look right—but all the other colors will still be off, especially bright and mixed tones.
5. What This Means for Your Scans
Using RGB LEDs for film scanning often causes:
- Color shifts: Greens may turn yellowish, or blues may look off.
- Wrong saturation: Some colors look too dull, others too strong.
- Lost color detail: Subtle shading and transitions disappear.
- Weird overall look: The balance between colors is broken, so the whole image feels unnatural.
Final Thoughts
RGB LEDs may seem like a cheap, DIY-friendly option for scanning film, but from a color science perspective, they’re a poor fit. Because they only shine light at three narrow wavelengths, they completely miss how film dyes react across the full spectrum. The result? Inaccurate colors that can’t be fixed later, no matter how much editing you do.
If you’re serious about accurate film scans, avoid RGB LEDs. Instead, use a light source with a smooth, continuous spectrum—like a high-CRI LED (CRI over 95, with good R9 and R12 ratings), a high-quality flash, or even a well-filtered halogen bulb. And if you want top-level accuracy, consider scanning in separate color channels using a monochrome camera with filters—a technique called tri-color scanning.


コメントを残す